Chalk Painted Fireplace
Almost forgot to post how my fireplace looked after painting it with Chalk paint!
Here is the completed and the start to finish pics!
 Missed taking pics of just the first coat so next is the start of the second coat.


To start they say you don’t need to sand but we did just a bit as the wood for my fireplace is Oak.
I used Rustoleum Chalk paint from Home Depot. It cost $31 for a quart and that
is all I needed to use for 2 coats! And it took less than 20 minutes between coats to dry! Once
dried, we sanded here and there to get a bit of a shabby look. I feel it needs a bit more
sanding which I will tackle at a later time.
For the tile, all I used was Zinsser Bull’s Eye 1-2-3 White Primer. the tile was painted after the fireplace had its second coat. I let it seal over night and put my home decor back up the next morning and Voila! That’s it folks! I really had planned to paint all this myself, but I have a 14 foot ceiling in
my livingroom, I’m short, didn’t have a 9-10 foot ladder...so Spike came in to the rescue!
I was very pleased with how it turned out. I didn’t put any wax or top coat on it as I wanted a more raw look. Not sure what’s going to happen once I start using the fireplace when it’s
cooler out. More than likely there will be soot above the firebox and hopefully it will just wipe
off and if not, I might need to touch up the paint. We shall see!!
I now have switched some of the decor as my goal is to have a more farmhouse look!
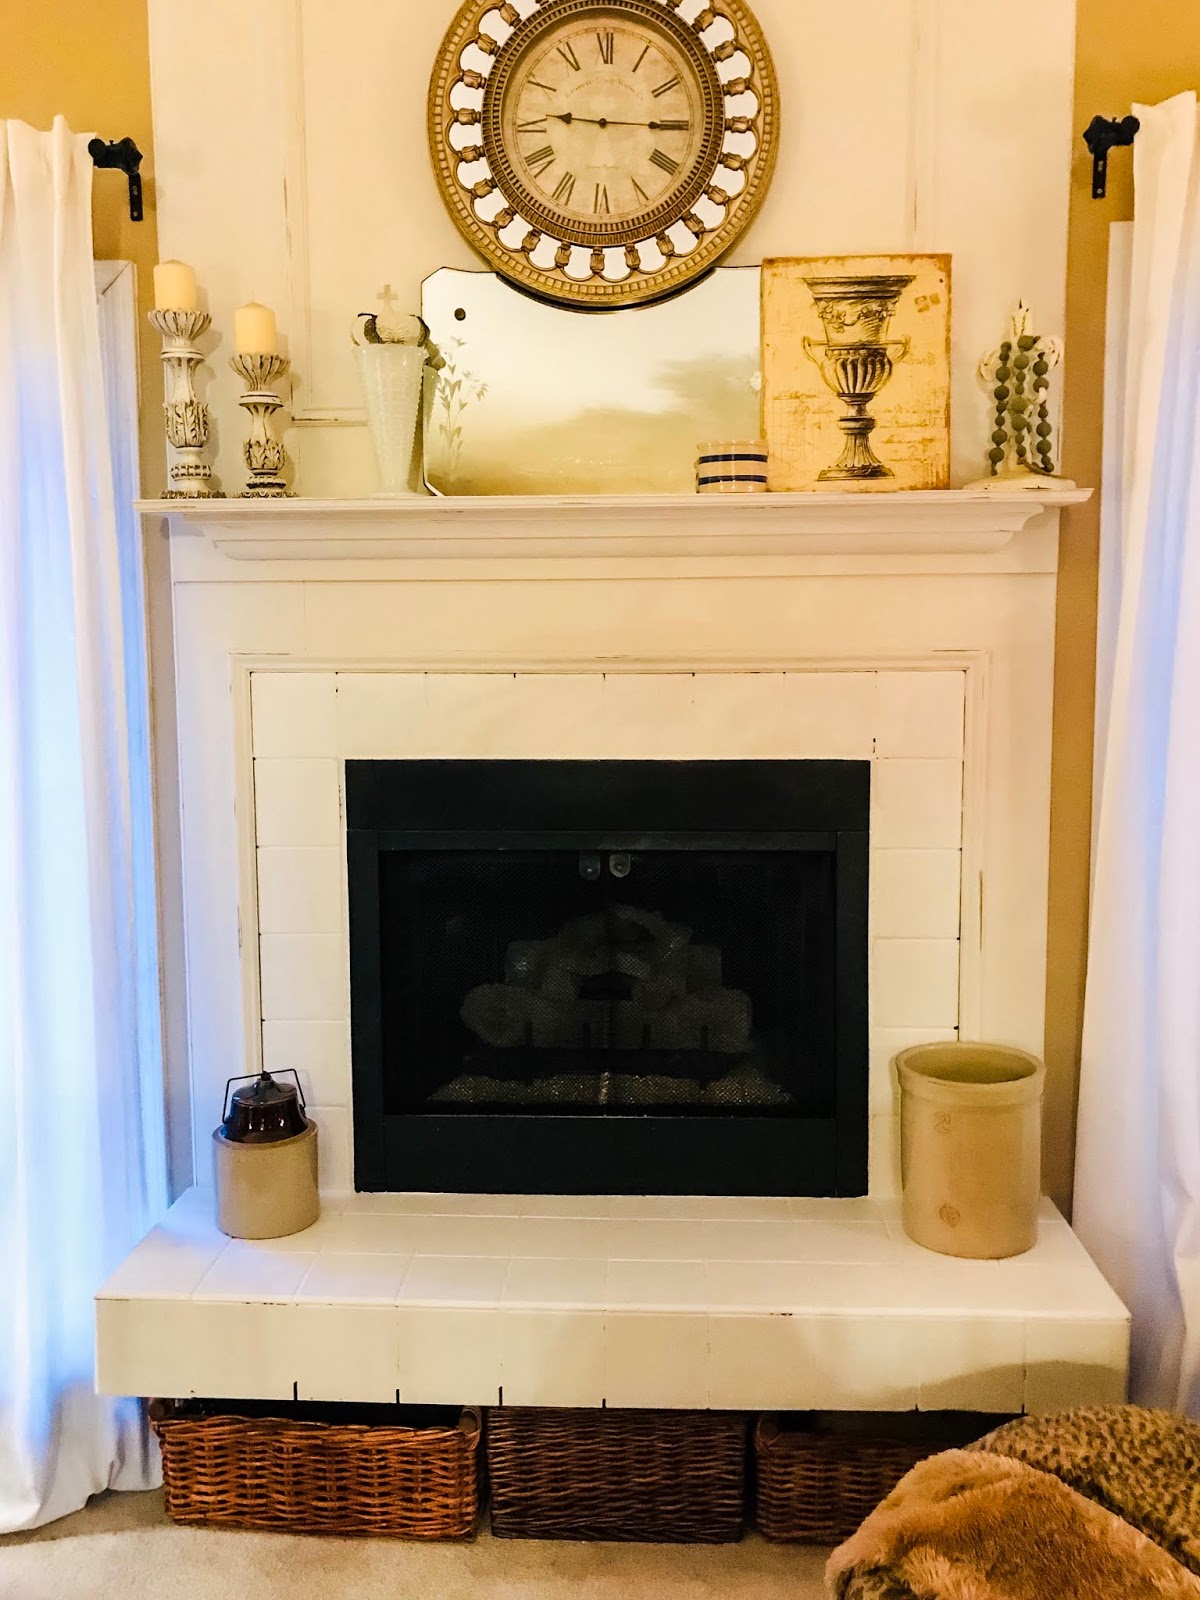
This change has really brightened up my livingroom and dining room!
From start to finish to paint, took just shy of 4 hours!
I feel like I have a new home with just chalk painting my
fireplace!! Absolutely love it!💛 Hope you do too.
Ciao Bellas💋

Comments
Post a Comment